Last week, I ordered my new desk. Nothing fancy, mind you - just something sturdy, with a couple of small drawers, that was on clearance at Target.com and would work for both my crafting and my new computer. They promised to ship it out the next day so it would arrive to me this week.
Surprise! It arrived on Friday! So Friday night, we rearranged a bit and I got it set up in my corner. I was pleasantly surprised at how sturdy it is and there was really very little assembly to it - just attaching the legs and tightening/replacing loose screws on the drawer runners.
So... you can't just let a new desk sit there and collect dust! Since we don't have all the parts for our computers yet, I decided to use it for crafting - with the Mingle coming up, I had roomie gifts and a door prize to make, plus I wanted to make myself an apron, and needed to finish my card swaps for that AND my local ATC swap. And for the first time since the move, I finally had something sturdy enough to put my sewing machine on1
WOW did I get a lot done!
I finished:
- roomie gift #1
- roomie gift #2
- my door prize donation
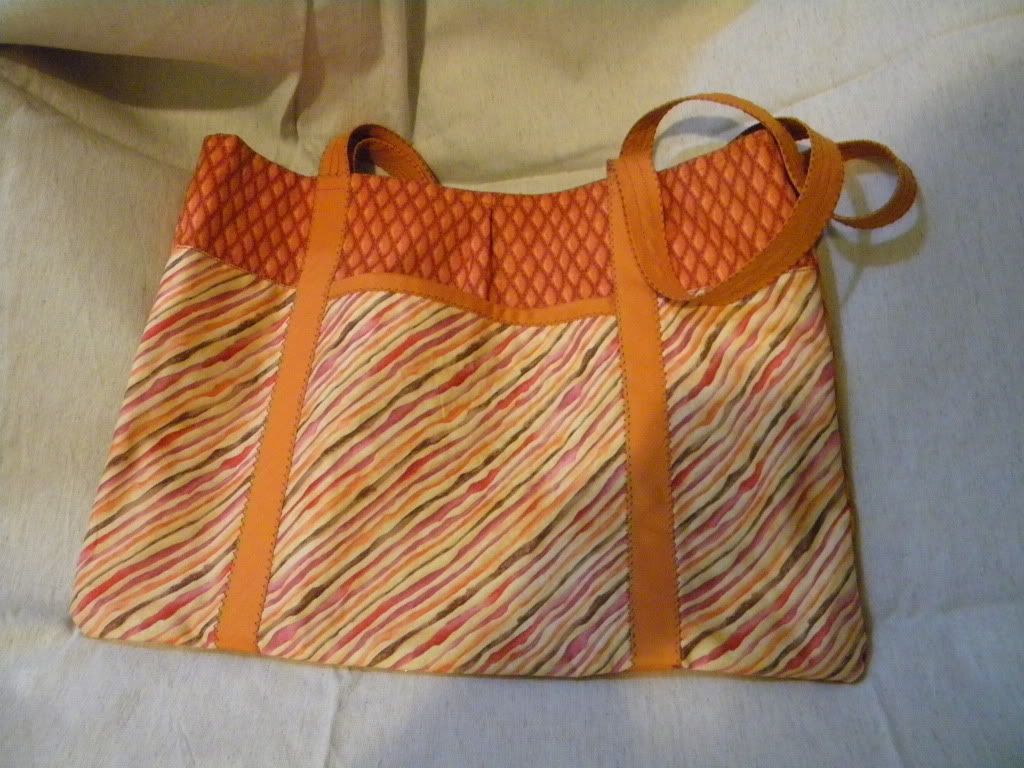
- my apron
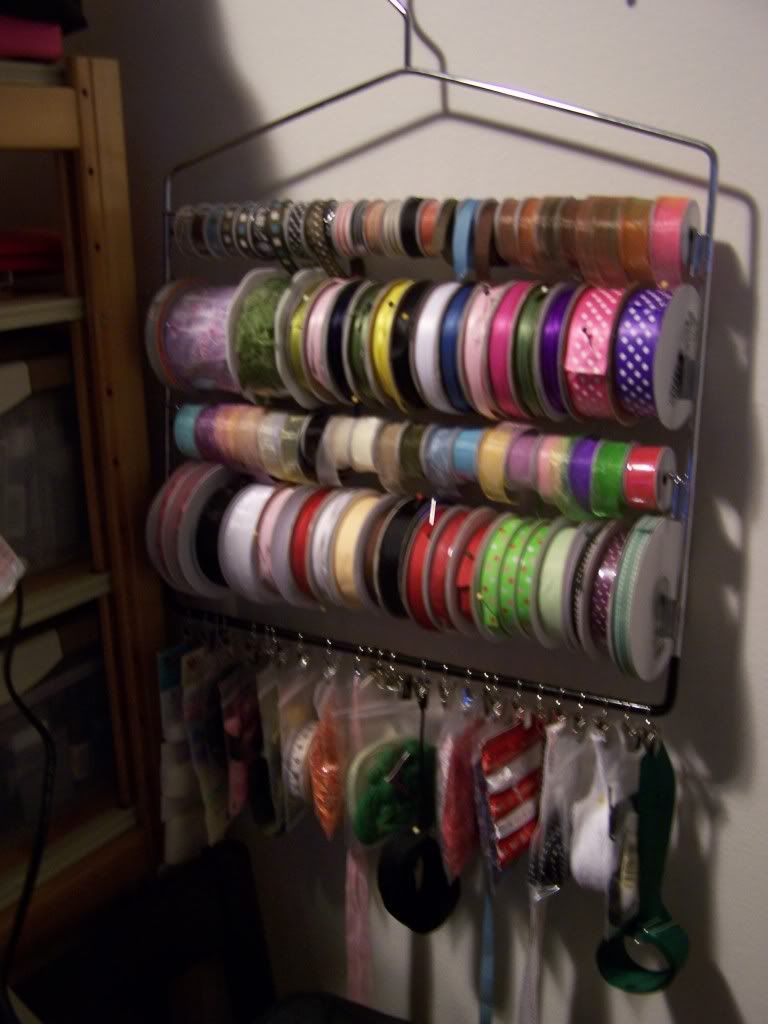
- a cloth cover for my ribbon holder/hanger
- my ATCs for the Mingle swap
- some thank you cards for my boss (YAY - this will get its own post!)
Sadly, I cannot post pics of the roomie gifts, ATC, or door prize til after the Mingle (for obvious reasons)... or even of the cards for my boss, because they mirror a design for a Mingle swap. And I'm having a hard time getting good pics of the apron or the ribbon holder. But I promise pics as soon as I can.
Then, last night after G's wrestling banquet, I came home and sat down at my desk to whip up some ATC cards for tonight's swap. Sadly, I was feeling much more "schmuck" than "creative" when I walked in the house. I stood before my shelves baffled and finally picked to things I decided to make work.
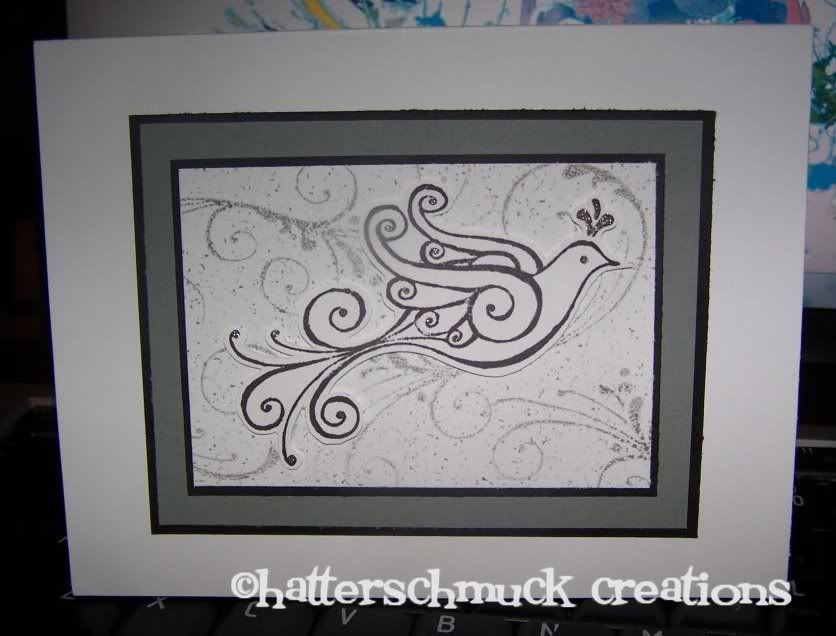
As soon as I sat down at the desk, though, inspiration struck and within a short while, I had an idea. I mocked up a "prototype", decided I didn't like the colors, but the concept was good, and was on my way. Lots of stenciling and a catnap later, I was stamping, embossing, and coloring my way into a card that I actually like - and promise to post pics of tonight after the swap. Sadly, I have no card reader here at work, so even if I did take a picture, I still can't post until tonight.
Tonight, though, after the swap and picture posting, it's back to the batcave - I still have cards to finish up for the Mingle and an over-the-top nametag to design for the Mingle.